
3 Easy Ways to Take a Screenshot Instantly
"All I wanted was to show part of my screen, but I fumbled with the tools again. Have you ever had that moment? Taking screenshots is one of the most common tasks in the workplace, but the best method actually depends on your purpose. Here, we compare 3 useful screenshot methods on Windows and explain when each one shines.
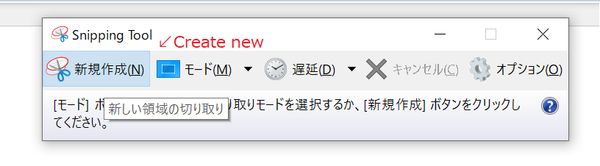
1. Snipping Tool – Best for clean captures and annotations
Ideal for:
- Creating manuals or presentation materials
- Adding annotations like highlights and notes
How to use:
- Open “Snipping Tool” from the Start menu
- Click “New” and select the area you want to capture
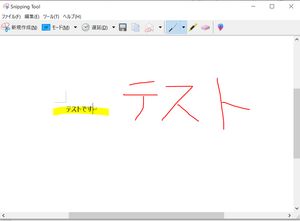
- The image opens in an editor automatically
- You can copy, save, or share from there
Personal Note:
I often use this tool when I need a clean capture with comments.
Its intuitive interface makes editing and saving images quick and easy.
2. Win + Shift + S – Fast and flexible partial capture
Ideal for:
- Quickly sending screenshots in chat or email
- Highlighting only a portion of the screen
How to use:
- Press “Windows key + Shift + S”
- The screen dims and the cursor becomes a crosshair
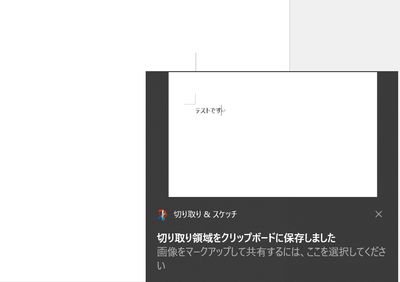
- Drag to select the area – it’s instantly copied to clipboard
- Use “Ctrl + V” to paste wherever you need
Personal Note:
Since I discovered this shortcut, I rarely use the Snipping Tool anymore.
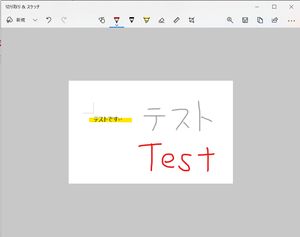
What I love is that a thumbnail appears in the corner after the screenshot – click it, and you’re instantly in edit mode where you can highlight or draw on it.
It saves time and makes explanations so much clearer.
3. PrintScreen Key – Capture the entire screen at once
Ideal for:
- Recording your full screen quickly
- Sharing exactly what you see
How to use:
- Press the “PrintScreen” key (usually on the upper right of your keyboard)
- The entire screen is copied to your clipboard
- Paste it into Word, Paint, etc., using “Ctrl + V”
- Save it if needed
Personal Note:
Still the simplest way to capture everything.
But you’ll often need to crop it afterward if you only want part of the image.
Bonus: Use “Win + V” to access clipboard history
If you’ve taken multiple screenshots and want to reuse a previous one, press “Win + V” to open clipboard history.
This little-known feature lets you manage and reuse recent screenshots with ease.

Summary
| Method | Best Use Case | Ease of Use | Editing Options |
|---|---|---|---|
| Snipping Tool | Precise editing & annotations | 〇 | ◎ |
| Win + Win+ S | Quick sharing | ◎ | 〇 |
| PrintScreen | Full screen capture | △ | △ |
Try out each method once and pick the one that feels most comfortable for you.
Once you’ve got the hang of it, sharing screenshots becomes quick and easy.
Personally, I rely on “Win + Shift + S” – it’s fast, intuitive, and super handy.
Give it a try and see which one works best for you!